 (2)")
With spring approaching and the summer selling season right around the corner, now is the best time to consider staging your home to sell. Of course, part of that big project is making the most of your outdoor living areas. This is a great time to carefully evaluate your deck and patio areas. Are they welcoming and ready to easily add living space and value to your home? Timber decks can, with time and the consequences of the sun beating down on them, become dry and splintered. This, of course, renders the deck practically useless as it becomes a danger to bare feet, puppy paws, and the hands and knees of little explorers.
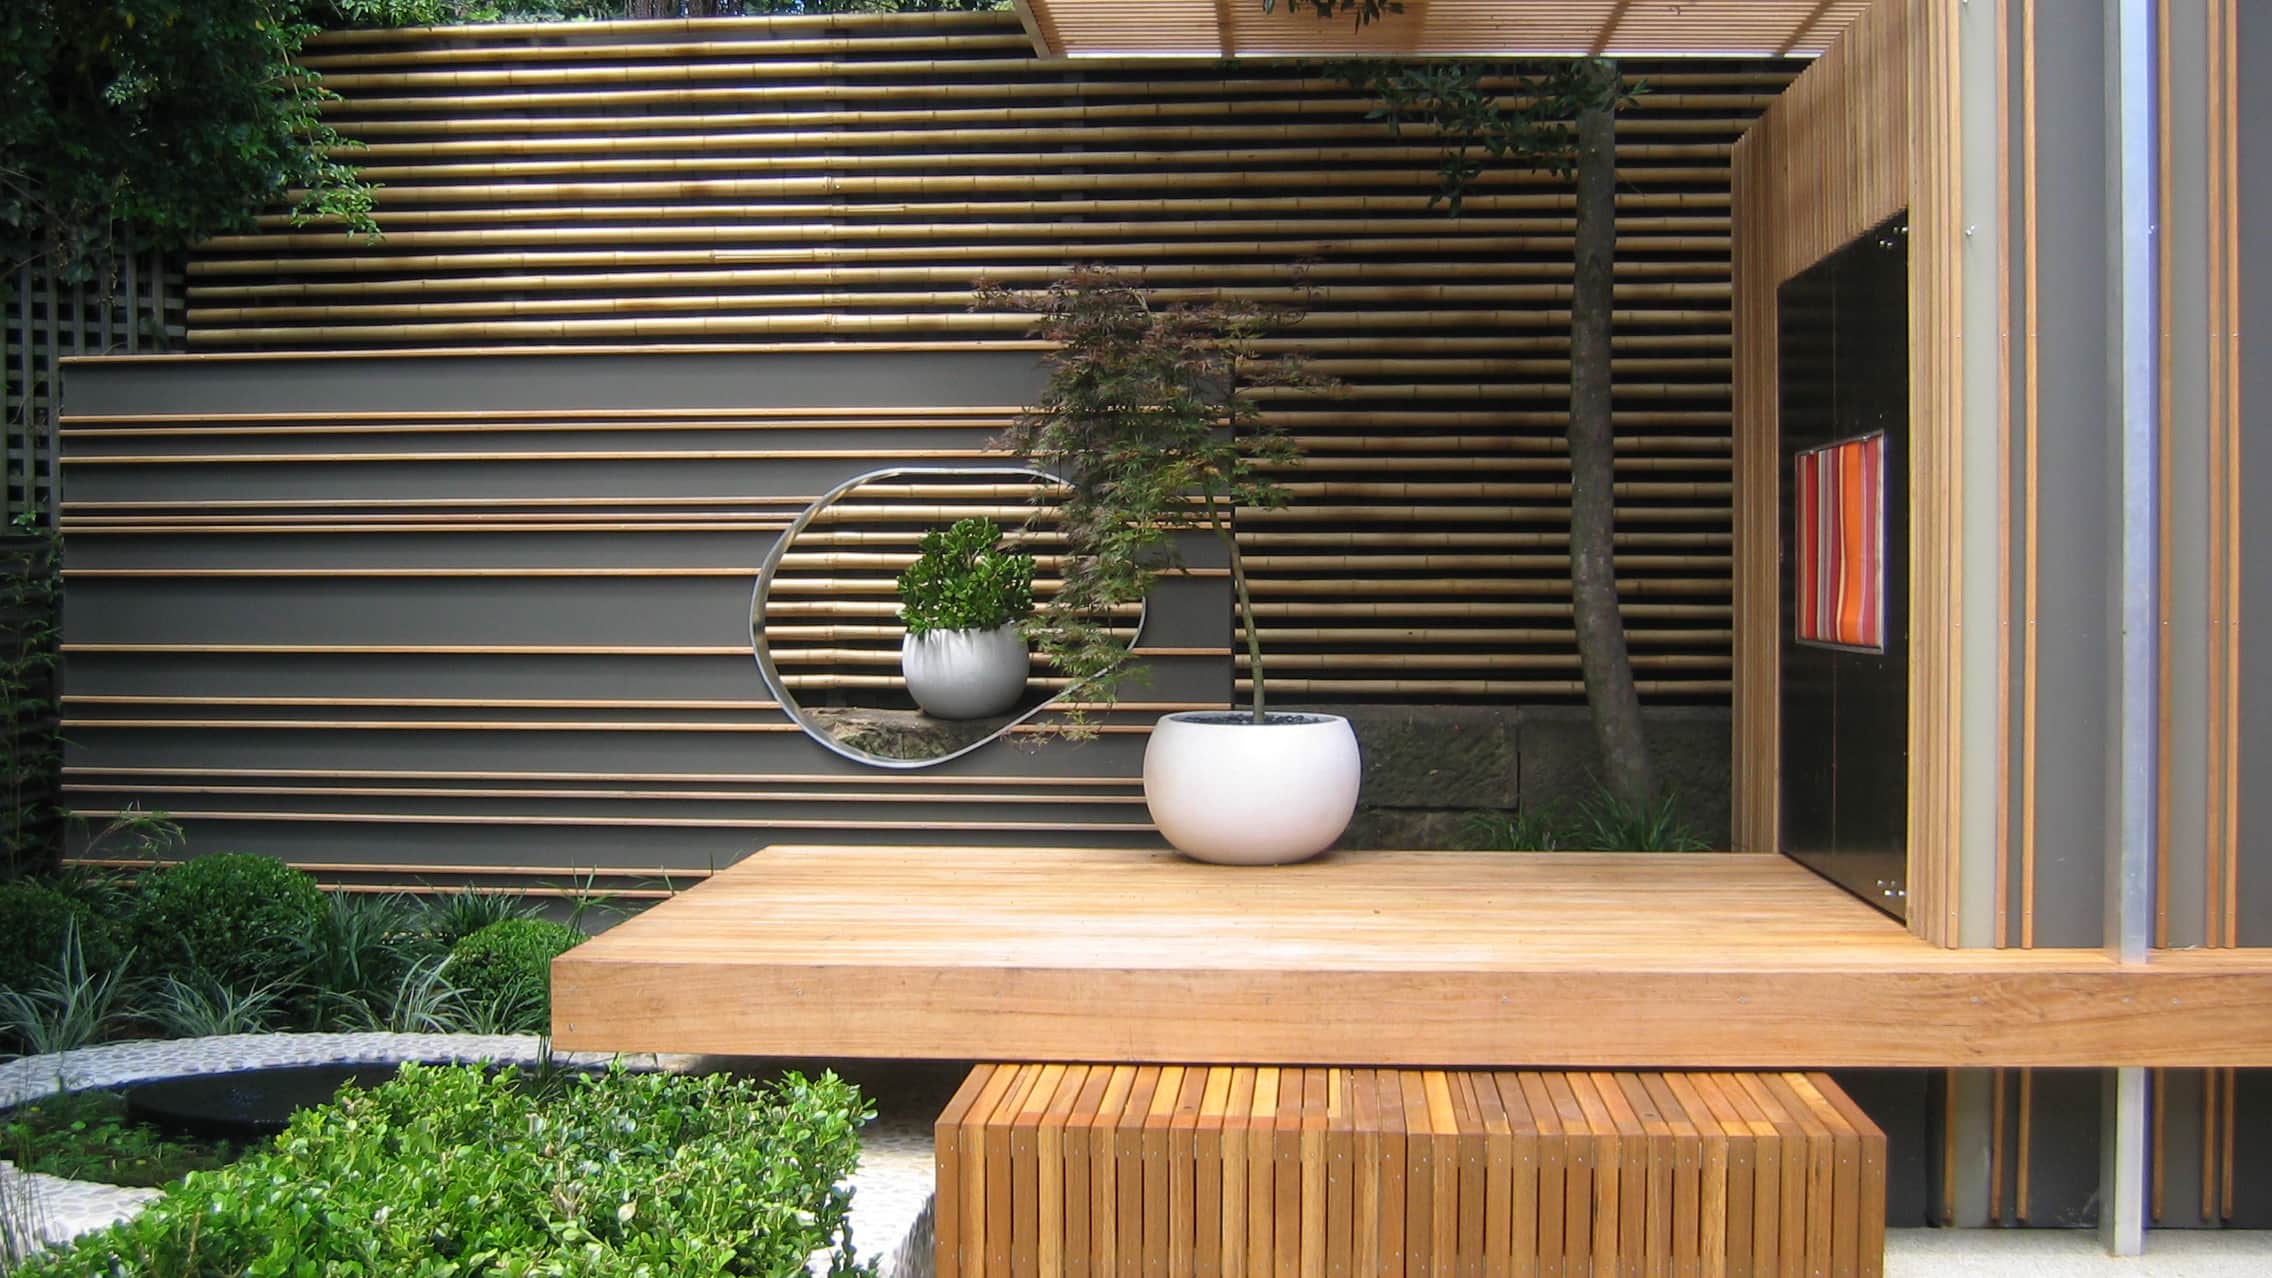
Now, before you list your home for sale, take the time to give your deck a little face lift and make it an amazing selling point for your house. Deck rejuvenation is an excellent and effective means of staging your house to sell.
Because the decking boards take the brunt of the weather, they are apt to begin the process of deterioration sooner than those boards that anchor the deck. Nevertheless, carefully examine the foundation of your deck to see that there is no sponginess or rot to be found before you spend a lot of time and energy refinishing the deck itself.
• Wash and Dry – Begin with a pressure-washer with a wide spray pattern. This will help to keep you from gouging out places where the wood is only slightly damaged or splintered. When the entire deck has been cleaned, allow it to dry for two to three days. Keep in mind that if your location has high humidity, it mayl prevent the deck from drying thoroughly.
• Secure Nails and Screws – Once the deck is dry, examine it carefully to be sure all the nails and screws remain tightly attached. Hammer down any nail that sticks up and re-screw any screws that have worked their way up. If any of these won’t stay down, use a decking screw of a slightly larger size to replace it.
• Salvage – Carefully remove boards that are severely damaged or stained. It’s quite possible that the underside of these boards is in much better shape and can still be used. Just turn them over and re-attach them if you can. If you must, cut new deck boards to fit the gap and nail or screw them into place.
• Fill and Conceal – Where there are cracks or gouges in the decking boards, use a two-part wood epoxy filler to repair the hole. Use the filler that best lends itself to your final finish. Your paint retailer will help you know which one is best for your particular project. Remember, as you work that this stuff is meant to be rock solid and will resist your efforts to sand it later. Don’t leave any more product on the wood than is necessary. Be sure to follow the manufacturer’s directions carefully in order to get a good end result.
• Sand – Use an orbital flooring sander with 80-grit sandpaper to smooth the surface of the deck. This will take care of splinters and uneven boards, giving you a nice, flat, splinter-free surface.
• Vacuum or Blow – Remove the sanding dust with either a vacuum or a leaf blower to prepare for painting.
• Protect – If you are most concerned with waterproofing, ask your paint retailer for a product to accomplish this. If your deck has lots of filled spaces or stains, you will want to use a semi-transparent deck stain to cover and conceal such blemishes, leaving you with a beautiful “new” deck to enjoy.
Particularly in the spring and summer months, an outdoor living space adds interest and excitement for potential buyers. A beautiful new deck is a hit with prospective buyers, but don’t stop with just a smooth surface. Ask your home stylist to include your new deck in the plan for staging your house to sell. With a few props and some outdoor furnishings, your newly finished deck may make a big difference in the final sale price.
