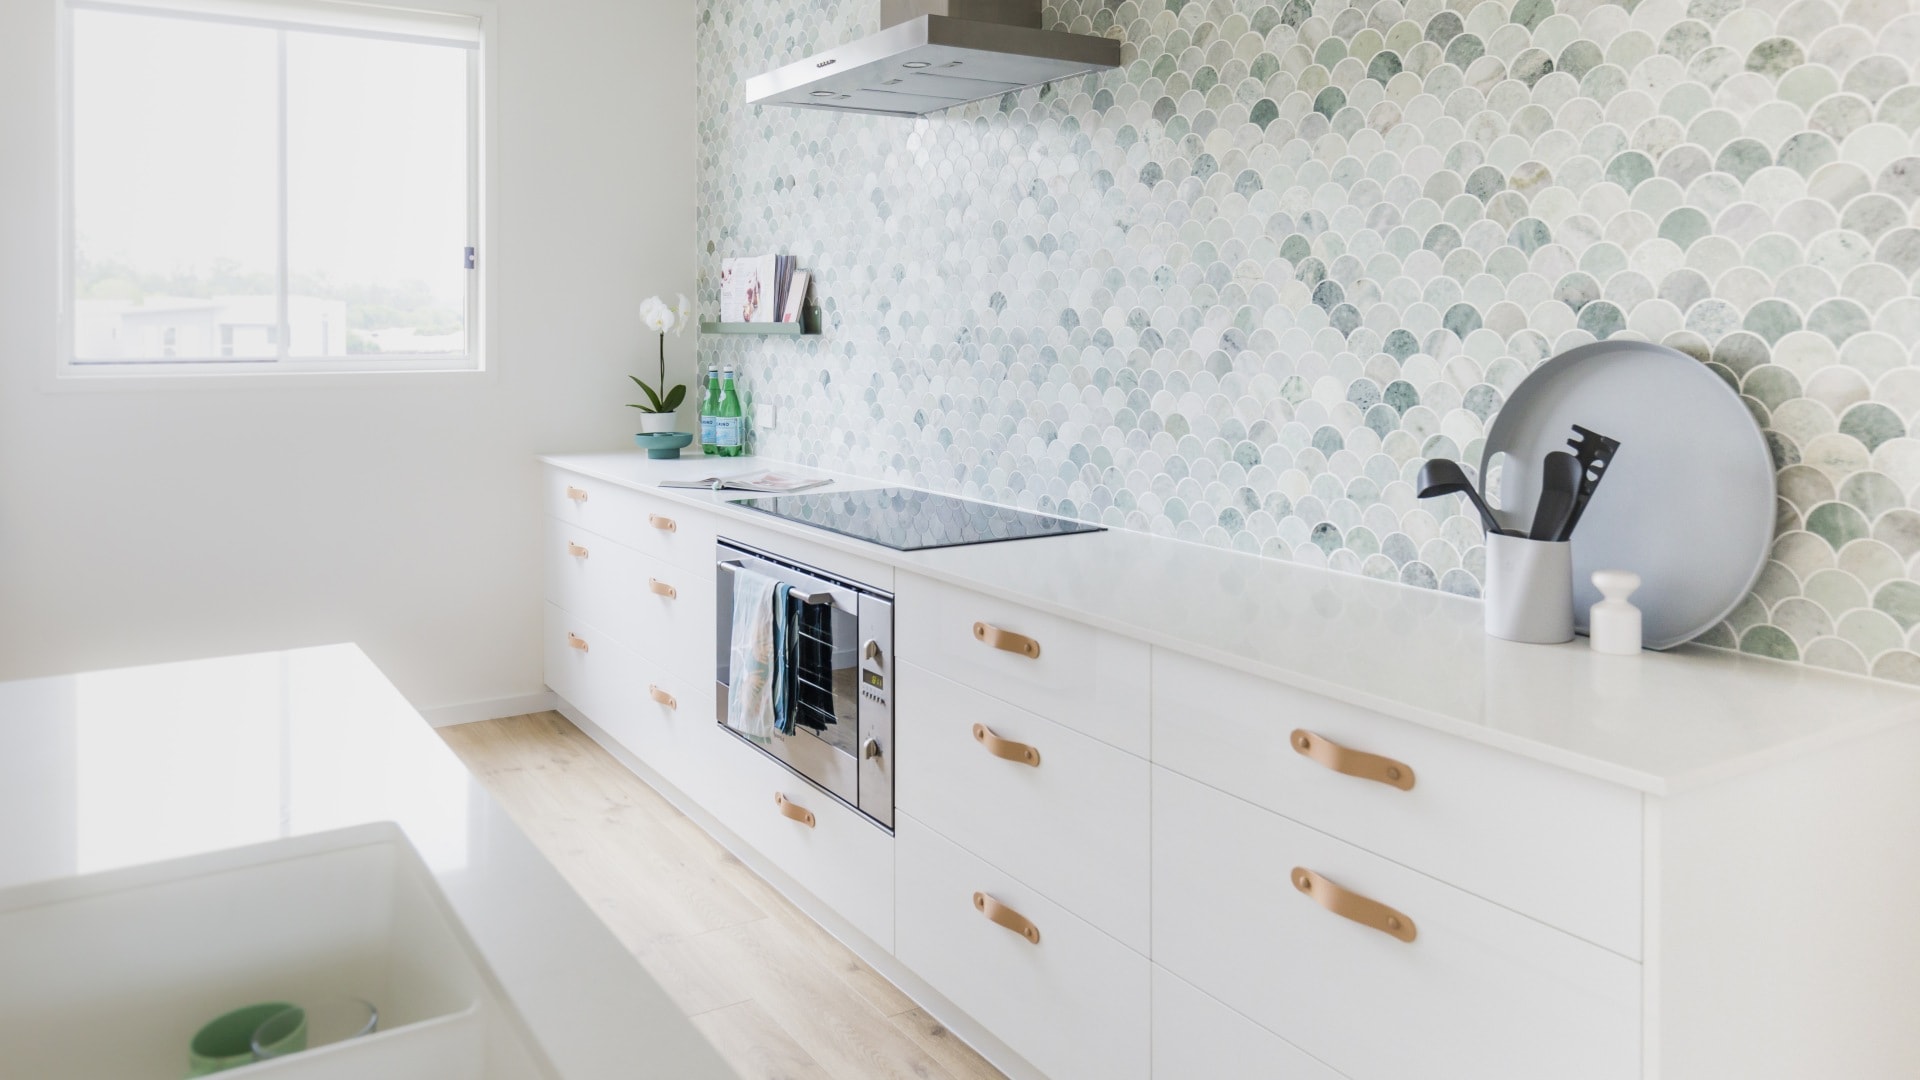
Home sales often hinge on the condition of kitchens and bathrooms. We humans pay a lot of attention to these rooms and will sit up and pay close attention if they are nicely done. Unfortunately, the budgetary constraints we face when it’s time to prepare our houses for sale often make cabinetry replacement impossible. According to the Sydney property stylists we consulted, however, a fresh coat of paint on even outdated cabinetry can make an UGH kitchen into a WOW one.
Consult your paint retailer on the most durable type of paint to use. We recommend marine-grade oil paint. This comes in white and a small choice of bright colours that can be toned down by mixing with white.
As with all other kinds of painting, cabinet painting requires careful attention to the prep work. Spending extra time and effort in the preparation will result in a dazzling finished product. Here’s a step-by-step guide.
Remove all items from the cabinets and benchtops. Remove the stove and fridge if they are freestanding and store them temporarily in another room.
Clean
Use tri-sodium phosphate (TSP) to clean the grease and oils off the cabinets. Do this prep step even if you think your cabinets are clean – paint won’t stick to dirt and grease.
Protect
Use protection paper to cover all the surfaces you are not going to paint. This paper comes in large rolls and can be found at your local hardware store. Cover the benchtops, the splashback, and built-in appliances. Use painter’s tape to mask off the walls where they meet the cabinetry. Place a large drop-cloth over the kitchen floor and tape it in place to spare yourself scrubbing later.
Disassemble
Remove cabinet doors and drawers, labelling each one with a piece of tape. Working from top to bottom, left to right, assign each piece a number so you can put them all back where they came from. Place all hardware into labelled, sealed bags and put them somewhere safe. (When you’ve removed the hinges on the doors, put its number on the exposed wood. Drawers can be labelled on the bottom.
Hopefully you have a large, separate indoor space to work on the doors and drawers – the garage perhaps. If not, just set up your sawhorses in the kitchen. Place long boards across sawhorses or boxes to give you room to work on several pieces at a time.
Sand and Vacuum
Using 100-grit sandpaper, sand all surfaces to give yourself a clean, smooth surface. If you’re going to use different hardware, fill the holes with wood putty and sand it smooth afterward. Vacuum the surfaces after sanding to remove all dust – these particles can show up later to mar your beautiful new paint job.
Prime and Paint
Use a good primer to get the surface of the cabinets ready for paint. If you’re painting oak or ash cabinets the open grain of the wood will suck up the primer in a heartbeat. For these open grains ask your paint retailer to set you up with an appropriate primer that will fill in the grain as you prime.
Before you open the paint can, use painter’s caulk to fill in any seams where the cabinets meet the walls. Smooth the bead of caulk with a damp finger to remove excess. Give the caulking a full hour to dry, and then you’re ready to paint.
Paint the inside of the cabinets first using a mini roller. Let the first coat dry thoroughly, and then add a second coat if necessary.
You’ll do the drawers and doors on the flat surface you created with your saw horses. This keeps running and dripping to a minimum. Pay special attention to the surface of your final coat. If you see brush strokes, grab your orbital sander and smooth them out. Note: any time you do any sanding; don’t forget to vacuum the surfaces afterward for a better result.
Allow the paint to dry thoroughly between coats. Once you’ve finished with the final coat, let the paint cure for a day or so. Otherwise the uncured paint will dent or scuff when you replace the doors and drawers – a little extra drying time will save your perfect surface.
Our favourite Sydney property stylists assure us that taking a bit of extra time to spruce up your kitchen and bathroom cabinetry will often result in a bigger payment when the house sells.


