 (2)")
Recently we wrote an article discussing the places in your house that dirt can hide, causing trouble when your prospective buyers inspect your home. We talked about everything from corner cobwebs to the smoke stains on the housing of your lighting fixtures. These places may look clean to you, but fresh eyes can often spot neglected nooks and crannies. No matter how hard you work to employ the necessary advantage styling, dirt hiding in cracks and crevices can tell buyers that some things in your house may have been neglected. Unfortunately, buyers often take this as a sign that there may be big, ugly, expensive surprises in the form of major deferred maintenance issues hiding elsewhere.
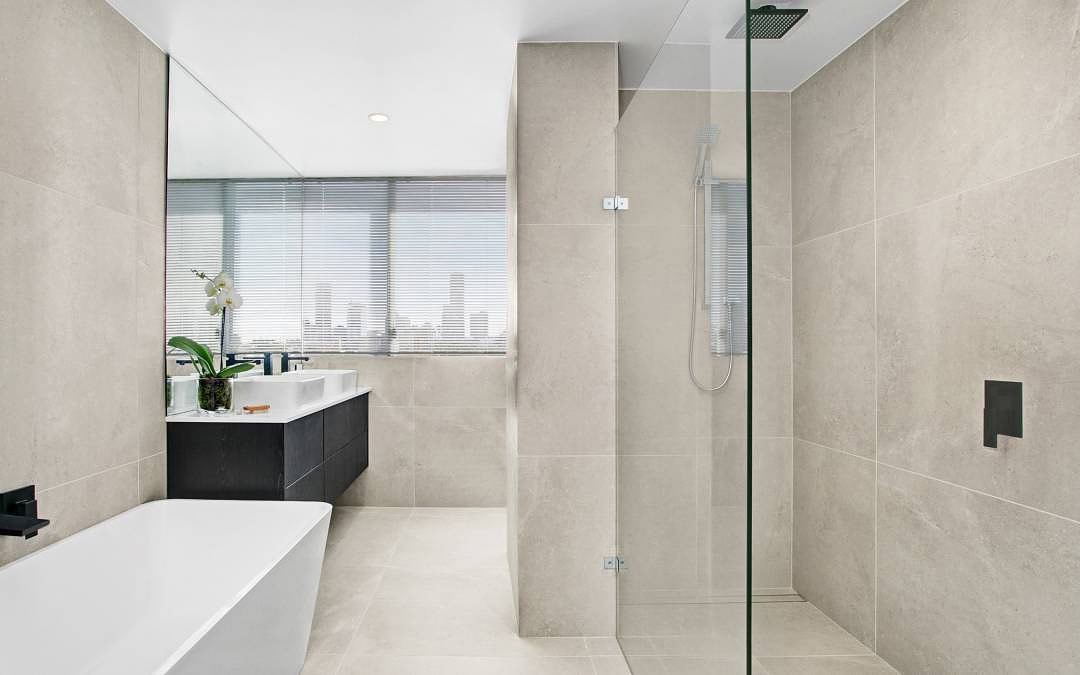
One place where we develop blinders and simply no longer see dirt is in the caulking around baths and showers. Mould and mildew stains often appear there in the cleanest of homes, and need to be eradicated before listing the house. Here’s how to take care of this relatively simple chore and make your bath look pristine again.
Step 1: Have the right materials on hand
For this four-hour job you will need: razor scraper and single-edge razor blades, caulk remover, mineral spirits, paper towels, a utility knife, a caulk gun, and kitchen and bath caulk.
A good caulking gun can make a big difference in the quality of your end product, so if you must buy one, get one with a sturdier plunger mechanism to give you a smooth, even flow and a pressure release to stop the flow quickly. High-quality caulk guns may cost a bit more, but they’re worth it.
In terms of the caulking material itself, look for the tube that says “for kitchen and bathroom use.” These products contain a mould-resistant additive. Usually there are both silicone and latex varieties. Since the latex cleans up with soap and water, if you’re a first time caulker, it’s more user friendly.
Step 2: Remove the old caulking
Removing the old strip of caulking thoroughly is essential. Begin by cutting into the strip of caulking with your utility knife. Pry it out of the gap with the edge of your knife and peel the strip away from the bathtub. You cannot successfully caulk over old caulking, so it’s necessary that you get every last bit of it out of the way. Use the caulk remover to loosen the adhesive bond then employ your razor scraper to remove all the remnants of the old caulking.
Step 3: Kill Mould and Mildew
Treat the area that will touch your new caulking – including grout lines – with a mould and mildew killing cleaning agent, scrub the area thoroughly and rinse any residue away with clear water. Allow the area to dry thoroughly. (If you have one available, use an oscillating fan to help the drying process along.)
(Tip: If this is your first experience with caulking, or your skill at handling a caulking gun is limited, you can use painter’s tape to mask above and below the line you will be caulking. This will make clean-up easier and give you a much more professional looking finished product – remember the professional look gives you an added advantage styling bonus.)
Step 4: Apply the Caulk
Use a sharp utility knife to cut the nozzle of the tube cleanly at an angle of about 45 degrees. Be certain not to leave burrs or uneven edges as it will look sloppy and may interfere with a good, clean seal. (If you have an uneven edge, sand and the edge down a bit to keep your bead of caulk smooth.)
Step 4: Re-grout
Starting at one corner, place the cut edge of the caulking tube against the gap and begin filling the gap by squeezing the handle of the caulking gun while moving the gun to lay down a bead of caulking to the next corner.
Step 5: Tool
With a wet finger, push the caulking into the gap along the side of the tub in a smooth swipe to the corner. This step, called “tooling” will give you a smooth grout line and remove the excess product – particularly if you have taken the time to mask off the edges.
Remove your masking tape, and allow the caulking to dry thoroughly according to the manufacturer’s directions.
You will find that recaulking around baths, showers and sinks is an easy task once you give it a try. It only takes a few hours total and makes the fixtures look bright and clean. When it comes to preparing your house for listing and the buyer open inspections to follow, eliminating evidence of mould can truly give you peace of mind as well as an advantage styling bonus.
