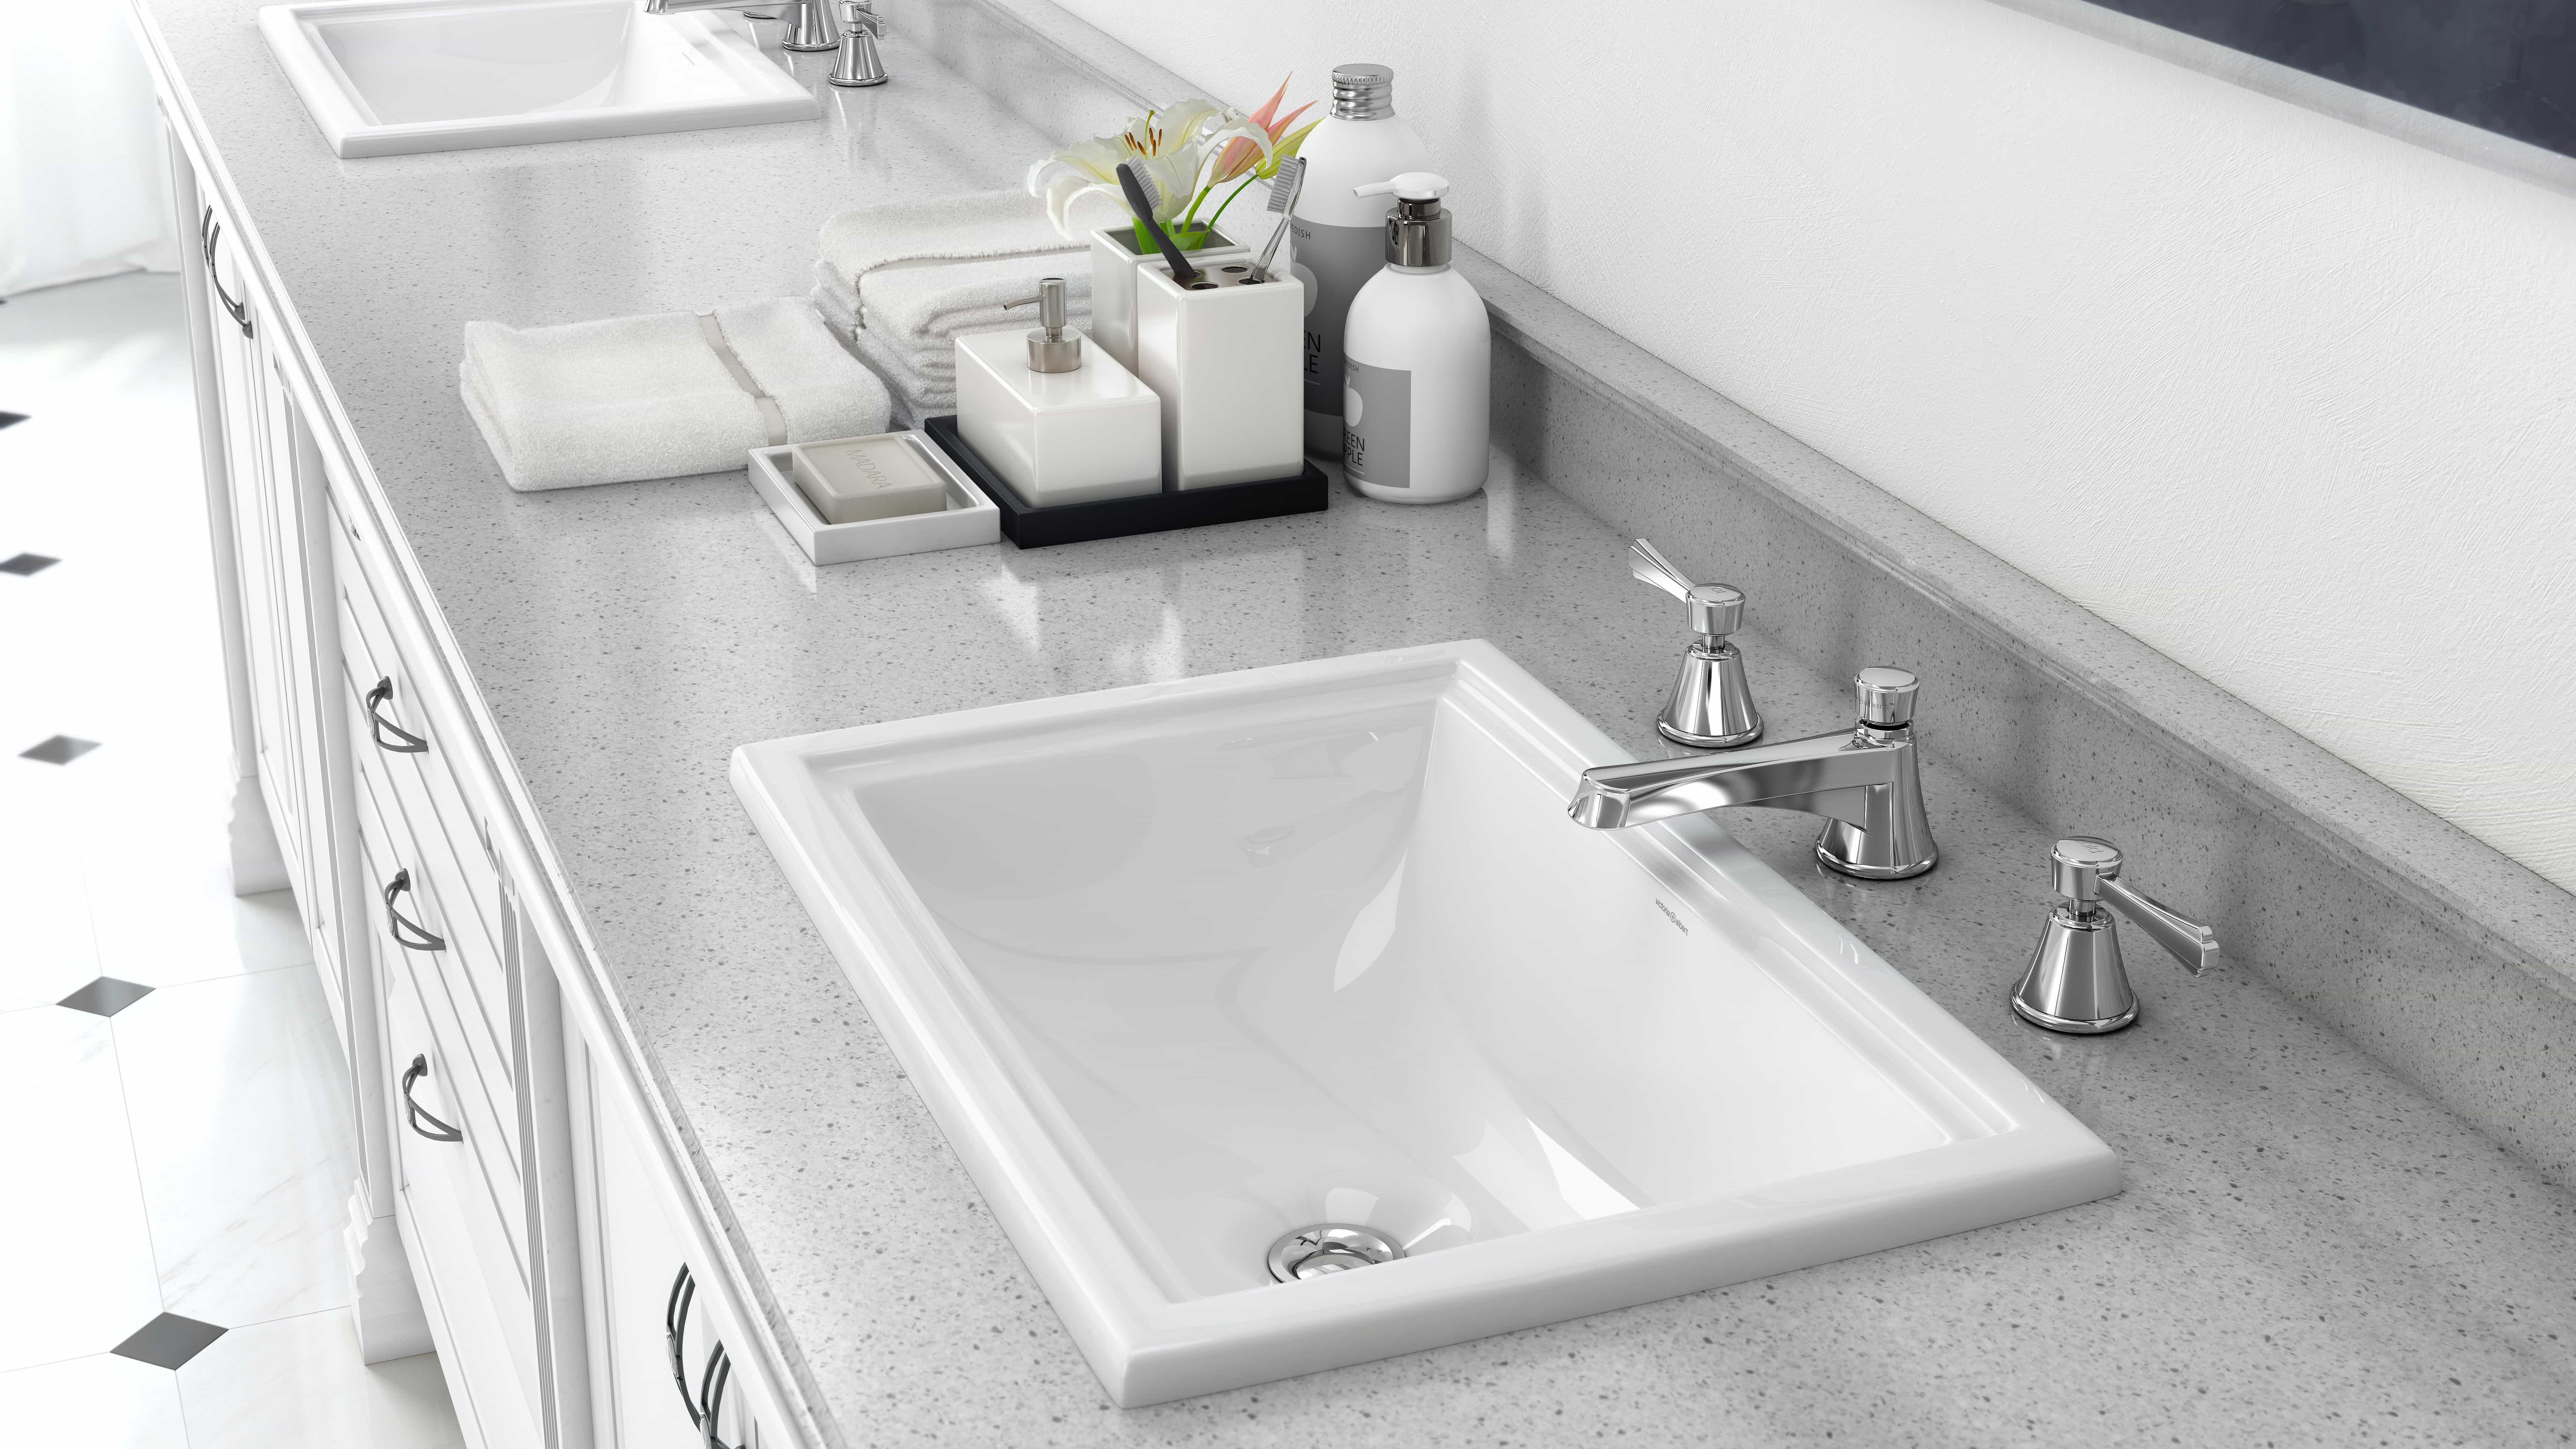
If you are lucky enough to live in a house with honest-to-goodness, built-in bathroom cabinetry painting it before listing your property for sale may seem like a no-brainer. Professional house stylists admonish us to take the time to see to the details. This job probably has to be done, particularly if you’ve just painted the tiles as we suggested recently, to upgrade and update the look of the room. So, what’s difficult about the job and why are professional painters’ bids so astronomically high?
Painting built-in cabinetry involves dismantling the entire set of cabinetry. Each component must be prepped then carefully painted and cured before putting the puzzle back together. It’s far more challenging than you might imagine, but our house stylists friends assure us it can be done with time and attention to detail.
Here we’ve assembled a list of tips that will help you accomplish this chore with your sunny disposition undamaged. Don’t allow this list to frighten you. This project is made up of little steps that will, in the end, make you very proud.
Evaluate
Before you attempt to re-use the cabinets in your bathroom, do a complete evaluation of the way they function. Painting them won’t make the drawers slide more smoothly. Nor will paint manage to hold together a sink cabinet that has suffered years of water damage. If there are problems with your cabinetry, you may wish to replace some or all of the components.
Disintegration
Painting the component parts of a cabinet involves the time-consuming job of removing all the little pieces. That means unscrewing and putting away all the door hinges and drawer pulls. Drawers are more easily painted outside the cabinet, so hopefully you have a space to set up saw horses topped with a couple of long planks to accommodate your paint project. (The garage, might do perhaps?) Remember this is likely to be a two weekend project, so you’ll not want to set up shop in the main hallway.
A Word about Hardware
If you live in a historic property and have the original cabinetry and “jewellery” it’s worthwhile to salvage it when possible. The integrity of the home is preserved when you are able to keep the old touches – glass drawer pulls and door knobs are excellent examples of the touches that buyers of older homes look for.
Label Everything
You may know where everything fits today. Three weeks from now when you want to put the cabinetry back together, you might not. Use a pencil and masking tape to mark where every piece goes. Use a numbering system or other identification that suits you to help these pieces find their ways back home.
Tape Carefully
Painter’s tape is the best invention since the toaster. Professional painters spent lots of time learning to “cut in” paint where it intersects with walls and such. Most of us amateurs don’t have that experience. Tape anywhere you don’t want to anoint the walls or floors with your cabinet paint.
Cleaning
Wash the surfaces with a good cleaner/degreaser. You may not see the layers of dirt there, but if it’s old cabinetry you’re working with, they need a good bath.
Filling and Sanding
Scraping, filling, and sanding may take an entire day depending on the size of your project. Understand, though, that any blemish or gouge in the current paint job should be dealt with decisively before you put the next coat of paint on. That requires you to scrape and sand drips of paint that you’ve inherited as well as removing the nasty paint build-up that marks where lazier painters have not removed hinges and knobs and simply painted around them. Why go to all this trouble to still have imperfections?
Take Your Time
As you paint, remember that paint must dry thoroughly between coats and be allowed to cure before you even THINK of replacing hardware. Paint that hasn’t cured properly (check the paint container for suggested curing times) can be easily gouged and scraped. Don’t let your hard work be ruined by impatience to get the job done.
When you’ve finished this job you will be so proud of yourself you may change your mind about moving. (You wouldn’t be the first.) Consult with reputable house stylists. They will tell you that the attention you show to detail will eventually show up in the selling price.


